

![Seikonaut Bracelet 20/16mm [TITANIUM] - - - - Lucius Atelier - Swiss Quality Seiko Watch Mod Parts](http://luciusatelier.com/cdn/shop/files/Seikonaut-Bracelet-2016mm-TITANIUM-Lucius-Atelier-Swiss-Quality-Seiko-Watch-Mod-Parts-7_1600x.jpg?v=1745004195)
![Seikonaut Bracelet 20/16mm [TITANIUM] - - - - Lucius Atelier - Swiss Quality Seiko Watch Mod Parts](http://luciusatelier.com/cdn/shop/files/Seikonaut-Bracelet-2016mm-TITANIUM-Lucius-Atelier-Swiss-Quality-Seiko-Watch-Mod-Parts-7_2000x.jpg?v=1745004195)
Your $300 Seiko mod is worthless if it fogs up the first time you wash your hands. It's the reality most modders don't think about until water is already inside the case — condensation clouding the crystal, rust forming on the movement, a build that took 5 hours ruined in 5 seconds.
But waterproofing a modded watch isn't mysterious. It's a system of three gaskets, proper lubrication, and one technique most builders skip: pressure testing.
This guide covers everything: the three gaskets you're probably undertightening, how to lubricate them correctly, crystal press technique that preserves water resistance, how to pressure test at home for under $50, and the honest answer to "can I swim with a modded watch?"
Let's build something you can actually trust near water.

Understanding Water Resistance Ratings: What ATM Actually Means
Water resistance is measured in ATM (atmospheres), bar, or meters. They're roughly equivalent: 1 ATM ≈ 1 bar ≈ 10 meters of static water pressure. But here's the catch — these ratings come from factory-assembled watches tested under ideal conditions (the ISO 22810 standard). A modded watch has been disassembled and reassembled by you. Every seal you touched is a potential leak point.
| Rating | Safe For | NOT Safe For |
|---|---|---|
| 30m / 3 ATM | Hand washing, rain, light splashes | Swimming, showering, submersion |
| 50m / 5 ATM | Showering, brief shallow submersion | Swimming, diving, snorkeling |
| 100m / 10 ATM | Swimming, snorkeling, surface water sports | Scuba diving, high-diving, water jets |
| 200m / 20 ATM | Scuba diving, serious water exposure | Saturation diving |
| 300m+ / 30 ATM+ | Professional diving | — |
For modded watches: even if your case was originally rated to 100m, after you've removed the caseback, swapped the crystal, and replaced the crown — that rating is void. You're starting from zero. The good news: Lucius Atelier cases are designed with screw-down crowns, threaded casebacks, and sapphire crystals — the three features that give you the best chance at real water resistance after modding.
The Three Gaskets Every Modder Must Know
Water enters a watch through exactly three points. Master these three seals and you've eliminated 99% of leak risk:
1. Caseback Gasket — The Most Overlooked Seal
The caseback gasket is a flat rubber O-ring that sits between the case and the threaded caseback. It's the largest seal by circumference — and the one modders are most likely to pinch, misalign, or leave dry.
Key facts:
- Material: Most are nitrile rubber (NBR). Higher-end cases may use silicone or Viton for better temperature resistance.
- Common failure: Pinching the gasket during caseback threading. One tiny fold = complete loss of water resistance.
- Lubrication: A thin film of silicone grease applied with your fingertip helps the gasket seat smoothly without friction damage. Never install a dry gasket.
- Replacement cadence: Inspect every time you open the caseback. Replace if dry, cracked, or deformed. Gaskets are consumables — they cost pennies and protect hundreds of dollars of movement.
2. Crown Gasket — The Moving Seal
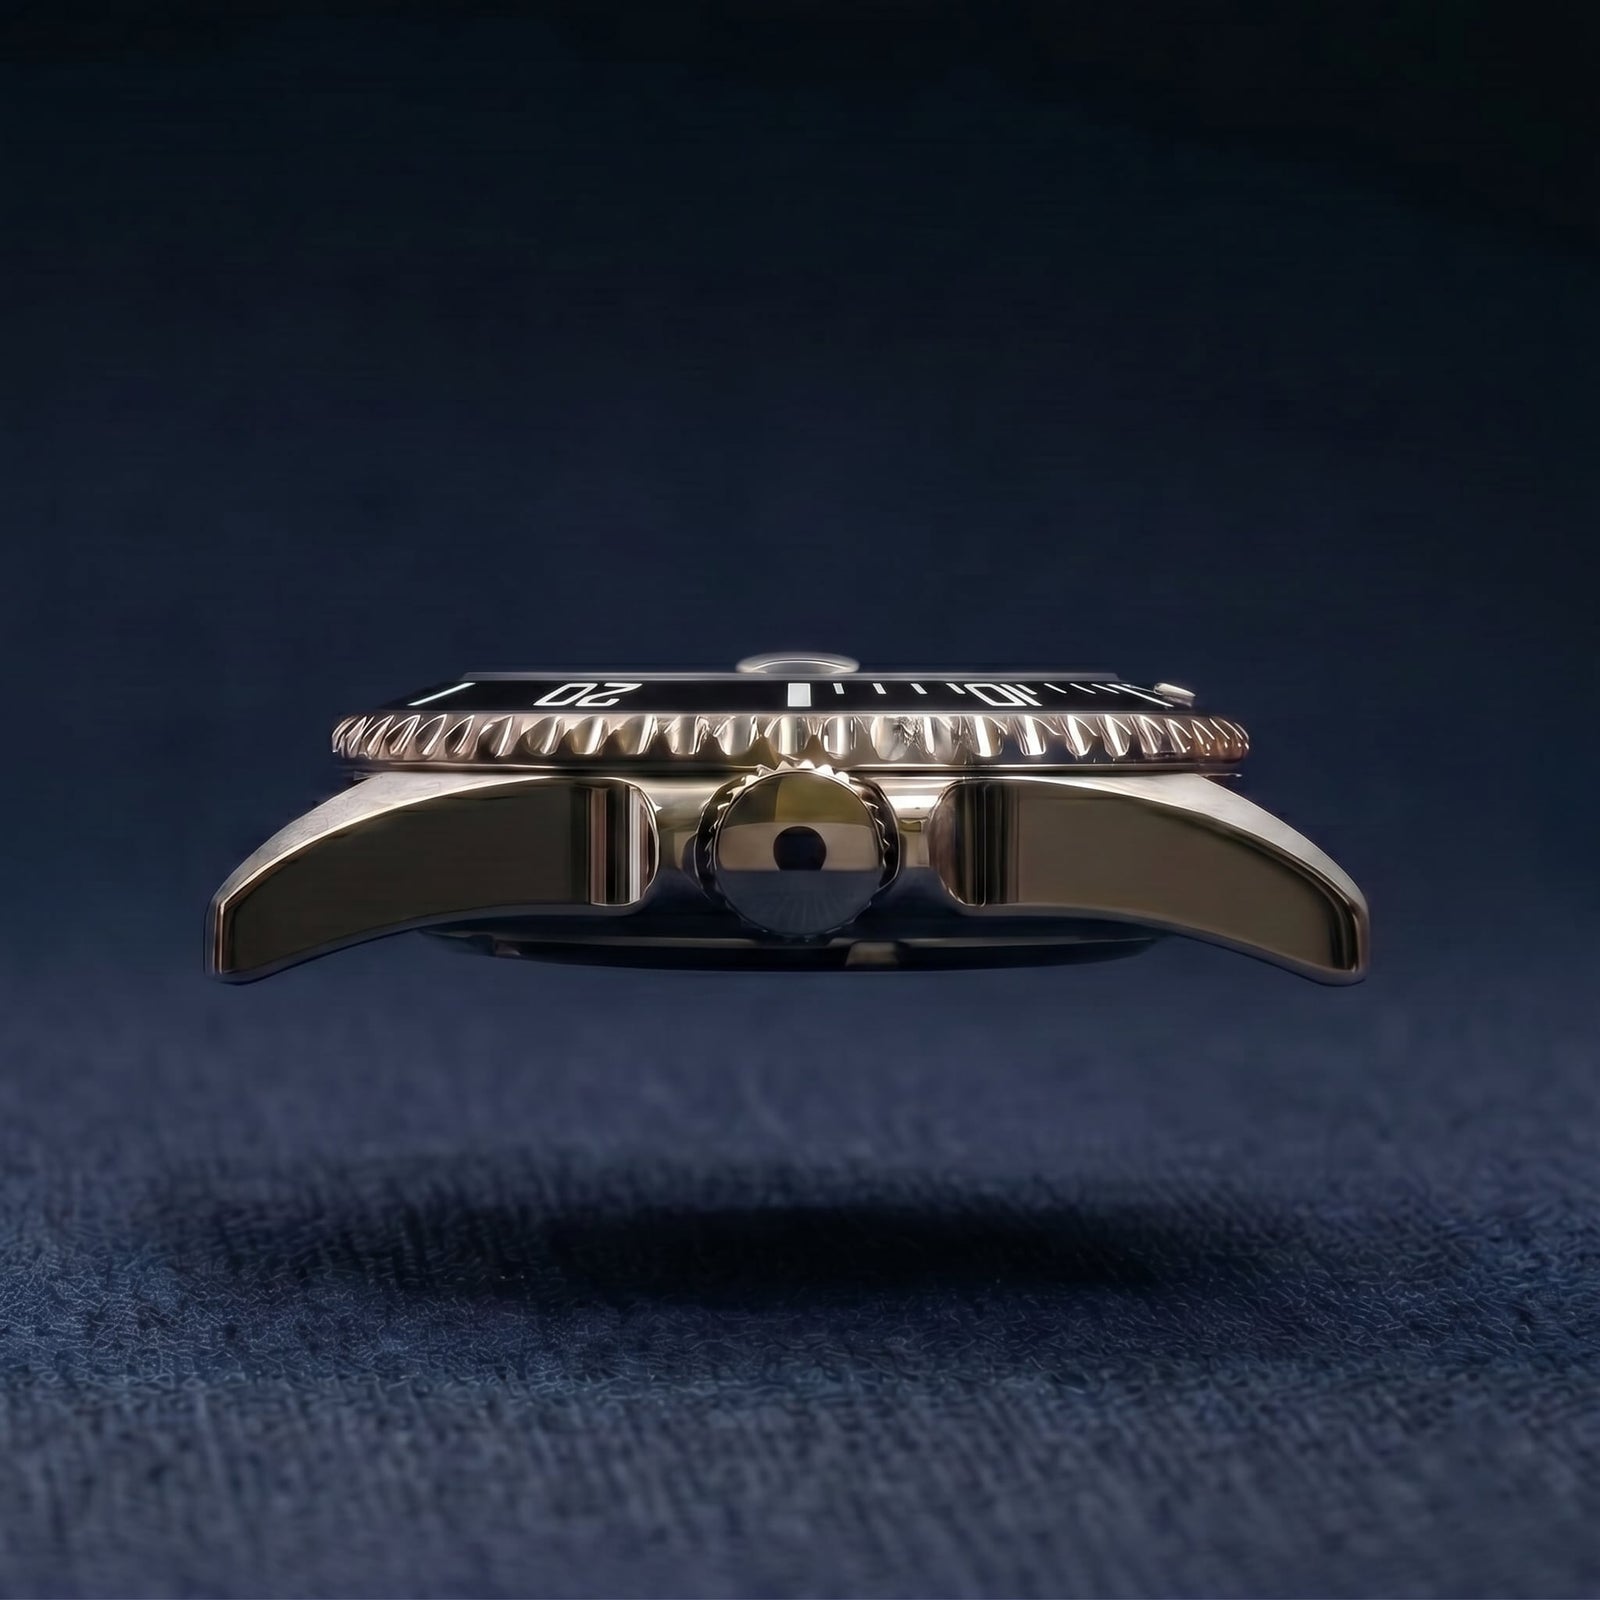
The crown is unique because it's a seal that moves — every time you wind, set the time, or screw it down. This makes it the most common point of failure in modded watches. Lucius Atelier cases use screw-down crowns, which compress a rubber gasket inside the crown tube when fully tightened. Push-pull crowns (common on dress watches and budget cases) offer far less protection.
Key facts:
- Screw-down > push-pull: Always. For any watch you expect to get wet, a screw-down crown is non-negotiable.
- The gasket is internal: It's a small O-ring inside the crown tube — you generally won't see it without disassembling the crown.
- Wear and tear: Crown gaskets degrade with use. After 2-3 years of daily winding, they lose compression. Replacement requires either replacing the entire crown stem assembly or sending to a watchmaker.
- Always screw down after setting: A screw-down crown left unscrewed is the same as having no crown gasket at all.

3. Crystal Gasket — The Invisible Seal
The crystal sits against either a nylon/plastic I-ring gasket (most Seiko-style cases) or is press-fit directly into the case. After swapping a crystal — which many modders do for a sapphire upgrade or a different profile — the crystal gasket is the seal most likely to have been disturbed.
Key facts:
- Nylon I-ring: Most LA cases use a nylon crystal gasket. It's white or clear, sits between the crystal and the case, and must be pressed evenly.
- Crystal press technique matters: Uneven pressure during crystal installation can deform the gasket, creating a path for water even if the crystal appears seated.
- Die sizing is critical: The press die must match the crystal diameter exactly. Too small = pressure concentrated on the center (crack risk). Too large = pressure on the case edge, not the crystal.
- Inspect the I-ring before you press: The gasket stays in the case when the crystal comes out. One that is still soft and round goes back into service. One that has hardened, cracked or taken a permanent set has lost its spring — replace it with a gasket matched to your own case reference, which any Seiko parts supplier stocks. For a watch you actually swim with, fit a fresh one regardless — nylon takes a set under compression, and the I-ring is the cheapest part in the whole job.
Why we don't sell gaskets separately: a crystal gasket is cut to match one specific case. Ours are cut for Lucius Atelier cases, so a gasket from us would not seal a stock Seiko case correctly — which is why our sapphire crystals ship without one, and why new gaskets come fitted only with our watch cases.

How to Lubricate Watch Gaskets for Water Resistance
Gasket lubrication serves two purposes: it helps the gasket seat smoothly without friction damage during assembly, and it maintains the rubber's elasticity over time. A dry gasket will crack, shrink, and lose compression. Here's the step-by-step process:
- Clean the gasket. Remove any old grease, dust, or debris with a lint-free cloth or Rodico. The gasket and its groove must be completely clean before lubrication.
- Apply a tiny amount of silicone grease. Place a dot of silicone grease on your fingertip — about the size of a grain of rice. Less is more.
- Spread evenly. Run the gasket between your thumb and forefinger to distribute the grease into a thin, even film. The gasket should look glossy, not goopy.
- Seat the gasket in its groove. For caseback gaskets, place the greased gasket evenly into the case groove. Use a toothpick to gently press it into place if needed — never stretch it.
- Check for twists. Run your finger around the gasket after seating. It should sit flat and even. Any twist or kink = remove and reseat.
- Thread the caseback slowly. Turn counter-clockwise first until you feel the threads drop into alignment (a slight "click"), then thread clockwise. This prevents cross-threading and gasket pinching.
What NOT to use: Never use petroleum-based lubricants (WD-40, Vaseline, motor oil). Petroleum degrades rubber gaskets, causing them to swell, soften, and eventually fail. Silicone grease only.
Crown and Caseback: The Two Biggest Leak Points
If water is getting into your modded watch, it's entering through the crown or caseback roughly 80% of the time. Here's why, and how to prevent it:
The Crown Problem
A screw-down crown works by compressing a rubber gasket inside the crown tube as you tighten it. But here's what most tutorials skip: the threads on the crown tube must be clean and the crown must be tightened fully. Even a quarter-turn loose is enough to let moisture in during a shower.
Checklist before any water exposure:
- Crown is screwed down fully — finger-tight, not wrench-tight
- No grit or debris on the crown threads (clean with a soft brush if needed)
- Crown tube threads on the case are clean and undamaged
- If the crown feels "gritty" when screwing down, there may be dirt in the tube — flush with warm water, dry thoroughly, then re-grease
The Caseback Problem
The caseback is the seal most modders disturb — it's opened for every movement swap, regulation, or inspection. Each opening degrades the gasket slightly. A gasket that's been opened 5 times without re-greasing is almost certainly compromised.
The pinch test: After tightening the caseback, inspect the seam between case and caseback all the way around under bright light. If you see even a sliver of rubber gasket protruding, it's pinched. Open, reseat, and try again. Never ignore a pinched gasket — it will leak.
How to Pressure Test Your Modded Watch at Home
Pressure testing is the step 95% of hobbyist modders skip — and it's the single most important quality gate. You can do everything else right (grease every gasket, tighten every seal) and still have a microscopic leak that fails on first contact with water. Pressure testing catches those leaks before water damage occurs.
Budget Home Pressure Tester Setup
A basic watch pressure tester is essentially a sealed acrylic cylinder with a hand pump and a pressure gauge. Models are available from $30-50. Here's how to use one:
- Remove the strap/bracelet. You're testing the case, not the strap.
- Place the watch in the chamber. Most testers include a small platform or hook.
- Fill the chamber with water. Just enough to submerge the watch — not full.
- Pressurize to your target. For a watch you plan to swim with, test to at least 3 ATM. For pool/beach use, 5 ATM minimum. Pump slowly and watch the gauge.
- Observe for bubbles. After reaching pressure, watch the watch (pun intended). A steady stream of tiny bubbles from the caseback, crown, or crystal = leak detected. No bubbles for 30+ seconds = passed.
- Release pressure SLOWLY. Rapid depressurization can damage the crystal or gaskets. Open the release valve gradually.

Dry test alternative: Some testers support dry testing — pressurize without water, then submerge to check. This is safer for the watch if a leak is found, since water never enters the case. If you're not confident in your seals, dry-test first.
When to Get Professional Pressure Testing
For serious diving (scuba, free diving) or watches you absolutely cannot risk, a professional watchmaker's pressure tester is worth the $20-50 fee. Professional equipment tests to 10+ ATM with calibrated gauges and can identify the exact leak location. If you've built a $500+ watch, a $30 professional test is cheap insurance.
Can You Swim with a Modded Seiko Watch?
The swimming question is the #1 most-asked question in every Seiko modding community. Here's the honest answer, broken down by confidence level:
- Confident to swim (pool, ocean, snorkeling): any of the 200m / 20 ATM cases in the table above — the Diver 38mm and 42mm (SKX013/SKX007 Submariner Editions), GS Diver 36mm, and the rest of the GS-platform line — with freshly greased gaskets and a passed pressure test. These are designed and rated as dive cases.
- Confident for light water (rain, hand-washing, dishes): Any LA case with screw-down crown and greased gaskets — even without pressure testing. The threads alone provide reasonable splash protection.
- Ultra Thin Edition builds: rated 100m / 10 ATM with the solid caseback — swim-safe when properly assembled, but the caseback choice decides the rating. The SKX013 Diver 38 Ultra Thin reaches its full 200m with the Thick Solid caseback.
- NOT confident for swimming: donor cases with push-pull crowns — the Seiko 5 SNK family and most budget dress donors are 30m at best. A push-pull crown + swimming = Russian roulette with your movement. (Every Lucius Atelier case uses a screw-down crown.)
- NEVER confident: Any watch where the crystal was pressed onto a hardened, cracked or deformed gasket, the caseback gasket is dry, or the crown doesn't screw down fully. No exceptions.
Hot water is the enemy. Hot showers, hot tubs, saunas — the heat expands the metal case faster than the rubber gasket, creating gaps. Even a well-sealed watch can leak in hot water. Cold water only.
Water Damage Recovery: What to Do If It Leaks
If you see condensation inside the crystal or the watch stops after water exposure:
- Pull the crown out immediately. This stops the movement from running while wet — running a wet movement causes more damage than water alone.
- Open the caseback. Let air circulate. Remove the movement from the case.
- Remove the battery/crown stem. For automatic movements, pull the stem. For quartz, remove the battery.
- Dry thoroughly. Place the movement (dial side up) in a container with silica gel packets or uncooked rice for 24-48 hours. Do NOT use a hairdryer — heat can warp the hairspring and dial.
- Inspect for rust. After drying, inspect under magnification. Any rust on the keyless works, winding mechanism, or balance = professional service needed.
- Replace ALL gaskets. If water got in once, the gaskets that failed once will fail again. Replace every gasket before reassembly.
Prevention is cheaper than repair: a water-damaged movement means buying a replacement NH movement or paying a watchmaker for a full service — either way, many times the price of a $5 tube of silicone grease and the 10 minutes it takes to lubricate your gaskets.
Lucius Atelier Cases: Water Resistance Overview
All Lucius Atelier cases feature screw-down crowns and threaded casebacks — the two most important features for water resistance. Here's a quick reference:
| Case | Crown Type | Water Resistance | Best Use |
|---|---|---|---|
| Diver Watch Case 38mm — SKX013/Submariner Edition | Screw-down | 200m / 20 ATM | Swimming, snorkeling, diving |
| Diver Watch Case 42mm — SKX007/Submariner Edition | Screw-down | 200m / 20 ATM | Swimming, snorkeling, diving |
| GS Diver 36mm | Screw-down | 200m / 20 ATM (tested) | Swimming, snorkeling, diving |
| SKX013 GS Diver 36mm · SKX013 Submariner 36mm · SKX013 38mm | Screw-down | 200m / 20 ATM (tested) | Swimming, snorkeling, diving |
| GS Watch Case 36mm v2 / 39mm v2 | Screw-down | 200m / 20 ATM (tested) | Swimming, showering, daily wear |
| Explorer 36mm v3 / 39mm / Explorer II 36mm | Screw-down | 200m / 20 ATM | Swimming, showering, daily wear |
| Datejust 36mm | Screw-down | 200m / 20 ATM (tested) | Swimming, showering, daily wear |
| Seikonaut 36mm | Screw-down | 200m / 20 ATM | Swimming, showering, daily wear |
| Ultra Thin Edition line (Bauhaus 33 · Pilot 34 · Explorer 36 · 1908 36 · 62GS 36 · Seiko-Dweller 36 · Seikonaut 38) | Screw-down | 100m / 10 ATM (solid caseback) | Swimming, daily wear |
| SKX013 Diver 38 — Ultra Thin (Black / Green) | Screw-down | 100m Ultra Thin caseback · 200m Thick Solid caseback | Diving with the Thick Solid caseback |
Note: Ratings are as stated on each product page — the case as designed and, where marked, factory pressure-tested. What your finished mod actually achieves depends on assembly quality: a pinched gasket on a 20 ATM case means zero water resistance. Ultra Thin Edition figures are with the solid caseback — caseback choice changes the rating, so check the spec on each product page.

Waterproofing Checklist: Before You Close the Case
Print this. Tape it to your workbench. Run through it before every caseback goes on:
- Caseback gasket: clean + lubricated + seated evenly + no pinching
- Crown gasket: crown screws down fully + smooth threading + no grit
- Crystal gasket: soft and round + seated evenly + pressed with the correct die size (fresh gasket if you'll swim with it)
- All gaskets lubricated with silicone grease (not petroleum-based)
- Caseback threaded straight (counter-clockwise first to align, then tighten)
- Pressure tested at target depth (or at minimum: splash-tested in a bowl of water)
Lucius Atelier watch cases are designed with water resistance in mind — screw-down crowns, threaded casebacks, and sapphire crystals on every sport model. But the final seal is in your hands. Grease your gaskets. Tighten your crown. Test before you trust. Your build deserves to survive more than a rainy day.
Ready to build a watch that survives more than a rainy day?
