

![Seikonaut Bracelet 20/16mm [TITANIUM] - - - - Lucius Atelier - Swiss Quality Seiko Watch Mod Parts](http://luciusatelier.com/cdn/shop/files/Seikonaut-Bracelet-2016mm-TITANIUM-Lucius-Atelier-Swiss-Quality-Seiko-Watch-Mod-Parts-7_1600x.jpg?v=1745004195)
![Seikonaut Bracelet 20/16mm [TITANIUM] - - - - Lucius Atelier - Swiss Quality Seiko Watch Mod Parts](http://luciusatelier.com/cdn/shop/files/Seikonaut-Bracelet-2016mm-TITANIUM-Lucius-Atelier-Swiss-Quality-Seiko-Watch-Mod-Parts-7_2000x.jpg?v=1745004195)
Swapping the bezel and bezel insert remains the most popular modification on Seiko dive watches — the SKX family, Turtles, Sumos and beyond — and for good reason. It is one of the few mods that transforms the entire character of the watch without opening the case: the movement stays sealed, the dial stays untouched, and the water resistance is never in play. One session at the bench, and the same SKX013 reads as a completely different watch.
This tutorial covers the full job, photographed stage by stage on our workbench: identifying which of the two bezel types you are working with, removing it safely, and fitting the new bezel and insert with clean alignment. The techniques apply to most Seiko watches.
Difficulty: 3 / 5 — getting the old bezel off is the hard part; everything after is straightforward
Snap-Fit or Friction-Fit: Know Your Bezel First
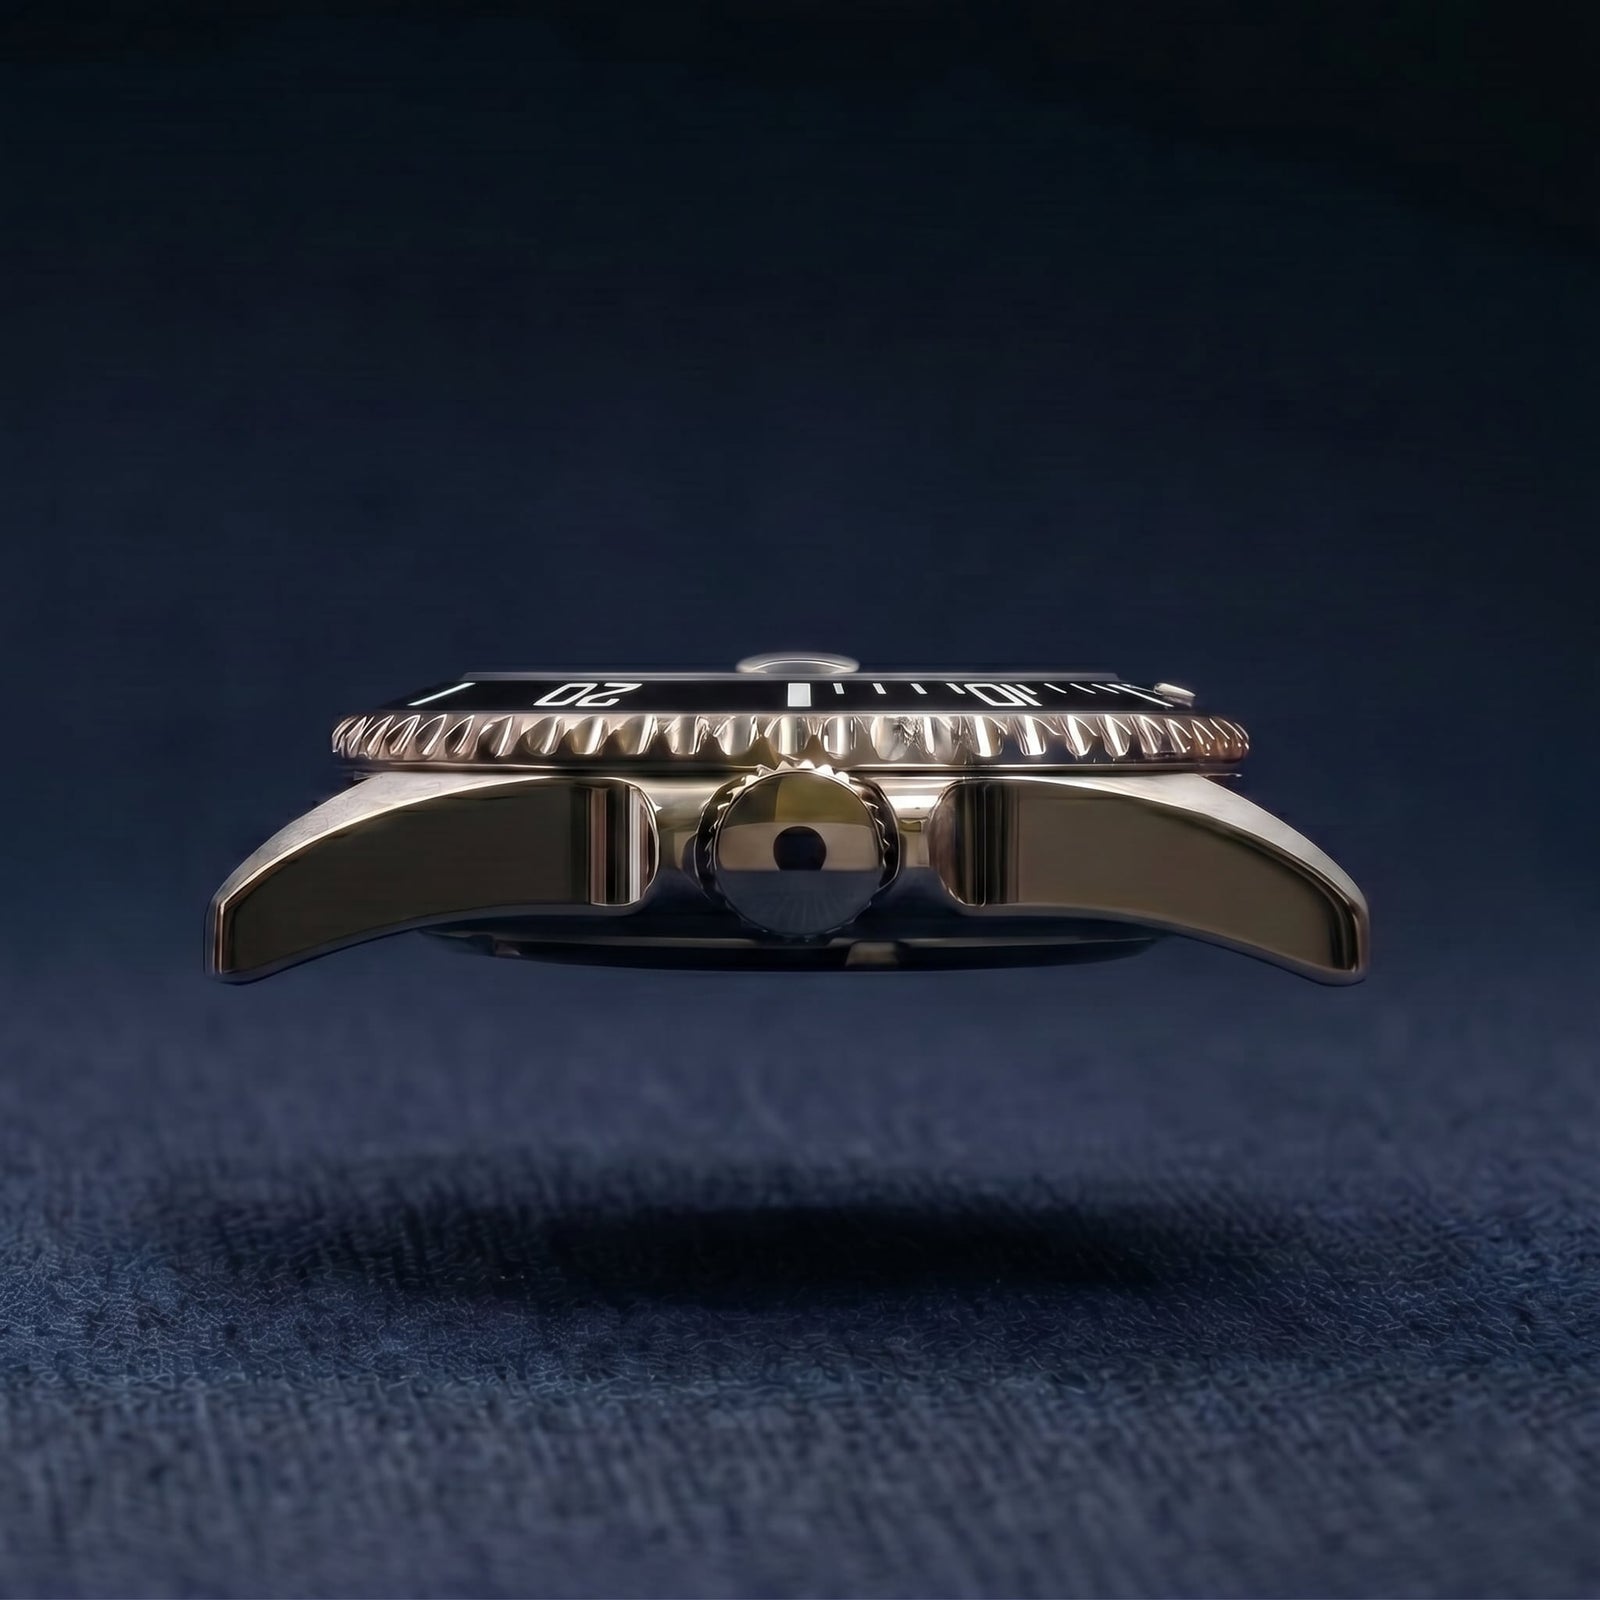
A snap-fit bezel snaps in and out over a machined lip on the watch case. It is the uni- or bi-directional rotating bezel familiar from every Seiko diver. Underneath it sits a bezel click spring — the thin ring that gives the bezel its ratcheting click and holds it under light tension.
A friction-fit bezel holds onto the case purely by interference fit — extremely tight, and non-rotating. The fluted bezel on a Rolex Datejust and the bezels on Seiko's SNK80X series work this way. One caution: on many watches a friction-fit bezel also retains the crystal, so removing it exposes the dial, hands and movement. Seiko divers are the exception — their crystals seat in the case, not the bezel.
Tools You'll Need
- Crystal press — seats the new bezel onto the case. A rack press such as the Bergeon 6173 makes this effortless; an economy press does the same job with more hand force.
- Snap back case opener — the prying blade that releases a snap-fit bezel. Choose one with a large grip area; you will be applying controlled leverage.
- Watch bezel remover tool — required for friction-fit bezels only. Quality matters here: the blades cut into the gap between bezel and case, and a poorly made tool will scratch both.
- Bench vice — holds the watch steady so both hands are free to work. Pad the jaws with rubber or paper to protect the case.
- Ethanol solution (70–100%) — cleans oil, dust and adhesive residue off the bezel before the new insert goes in. Handle with care; ethanol is highly flammable.
Wear gloves or finger cots throughout — skin oils have no place on watch parts. Affordable tools get this job done; Swiss-made versions cost many times more and earn their keep only at volume.
Removing a Snap-Fit Bezel
Clamp the watch in the vice with a plastic crystal-press die resting on the crystal — the die takes the clamping pressure without scratching, and leaves the bezel free to rotate with working clearance above it.


Look closely at an SKX007 or SKX013 bezel and you will find a row of teeth protruding beneath it. This matters: slide a prying tool straight into the gap and it will strike those teeth rather than the bezel wall. The technique is to lift the bezel just high enough to slip the blade below the teeth — that is where the leverage lives.


With the blade seated between the bezel teeth and the case, a firm twist pops the bezel free. Work between the lugs — any slip marks the case where nobody will ever see it. Expect real resistance the first time on a new watch; bezels loosen up after a few removals and refits.

Bench tip: the click spring lifts the bezel fractionally as you rotate it. Turn the bezel a few millimetres while applying light upward pressure and you can feel the moment it wants to release — it eases the prying noticeably.
Removing a Friction-Fit Bezel
Friction-fit bezels need a dedicated watch bezel remover tool — prying alone will not defeat an interference fit without damage.

Open the tool's knob until the watch sits face-down and flat with its lugs resting on the four angled blades. Tighten the knob and watch the blades work into the gap between bezel and case, pressing the case down and away until the bezel releases.


If the bezel loosens but does not drop free, finish the separation with the snap back case opener.

Some friction-fit bezels — our Big Bang and Pilot designs for the SKX013 among them — grip harder still. The last-resort technique is to angle the case opener blade into the gap and tap it gently with a small hammer. It works, but it demands a steady hand and prior experience; if that description gives you pause, this is the moment to hand the job to a watchmaker.
Removing the Old Bezel Insert
The insert is held in its bezel track by double-sided adhesive, so removal is a matter of defeating the glue — physically or chemically.

The common approach: slip a sharp penknife between insert and bezel from the inside edge, then work it gently around the track to break the adhesive bond. Once the glue releases, lift the insert clear — carefully. Steel and aluminium inserts bend; ceramic inserts shatter. Neither forgives impatience.
Fitting the New Bezel
The crystal press does the seating. Choose a die that sits squarely on the bezel — plastic, always, to protect the finish — and press with steady, even pressure. A snap-fit bezel announces itself with a click as it seats; friction-fit bezels sometimes seat silently, so check the fit visually all the way round.


Fitting the New Bezel Insert
With the bezel seated, clean its inner track — the surface the insert bonds to. A cotton swab soaked in 70% ethanol lifts dust, oil and fingerprints and leaves the surface primed for adhesion. Stubborn residue from the old adhesive scrapes off with a penknife, or dissolves with a citrus-base adhesive remover.

Apply the double-sided adhesive to the back of the insert — our inserts ship with the adhesive disc already applied. For the final alignment on a rotating bezel: turn the bezel gently anti-clockwise then clockwise until you feel it settle against its click, and place the insert with its 12 o'clock marker dead in line with the dial and chapter ring markers. Press it home evenly, and the job is done.
Care Notes & Disclaimer
Modifying or customising a watch will generally void its warranty. This tutorial documents our own workshop process; techniques, tools and outcomes are your responsibility, and Lucius Atelier accepts no liability for damage arising from following it. External links are provided for reference only — we do not control and cannot vouch for their content.
Parts for this job: browse our Seiko mod bezels and bezel inserts — sized for the SKX family this tutorial covers.
Ready to swap that bezel?
